A Step-by-Step Guide to Wall Finishing
The process of setting up walls in a building involves several key steps. Each phase needs careful attention to ensure a smooth and durable finish. From planning and preparing materials to final sanding, understanding these steps can help you achieve professional results. This guide will walk you through each part, providing tips and insights for a successful project.

Planning Your Project
Before starting any project, good planning is crucial. Determine the total area where the drywall will be installed. This helps in calculating the number of sheets needed. Consider factors like room design, lighting, and furniture placement. Planning also includes making decisions about textures and paint colors early on.
Gathering Necessary Tools and Materials
An important step in drywall installation is having the right tools and materials. You will need sheets of gypsum board, joint tape, screws, and compound. Essential tools include a utility knife, measuring tape, T-square, and drill. Having everything ready before you start saves time and minimizes interruptions.

Measuring and Cutting the Drywall
Precise measurements are vital for fitting the drywall panels correctly. Use a T-square to ensure straight cuts. Measure twice to avoid mistakes that waste material and time. Drywall sheets are cut to fit around outlets and light switches. Accurate cutting makes the following steps smoother.
Installing the Panels
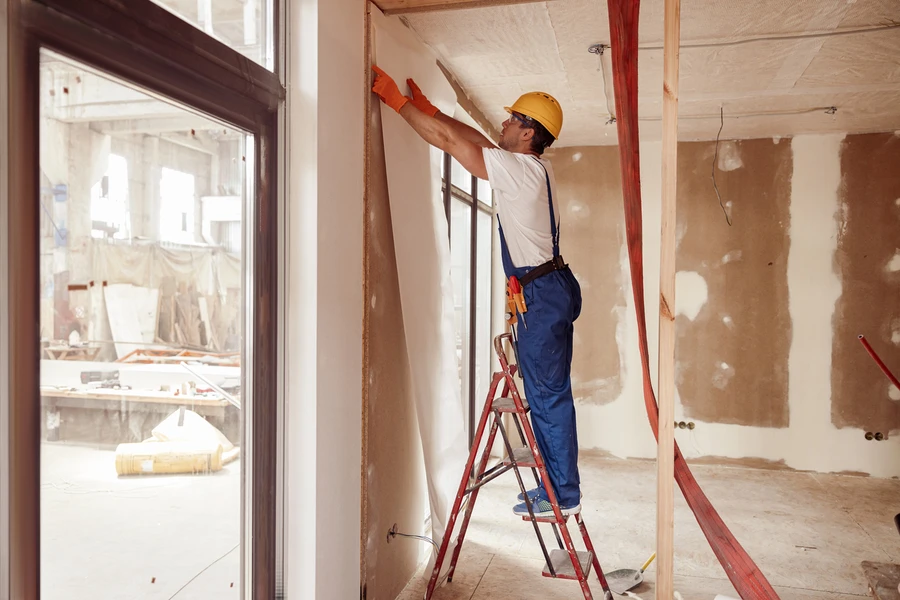
Now comes the actual drywall installation step. Start by securing the sheets to wall studs using screws. It’s essential to keep the screws slightly recessed without breaking the paper surface. Position the panels vertically or horizontally based on room dimensions and preferences. Once placed, you’ll tape the joints to prepare for finishing.
- Screw the drywall into place
- Tape over the seams
- Apply a thin layer of joint compound
Finishing With Joint Compound
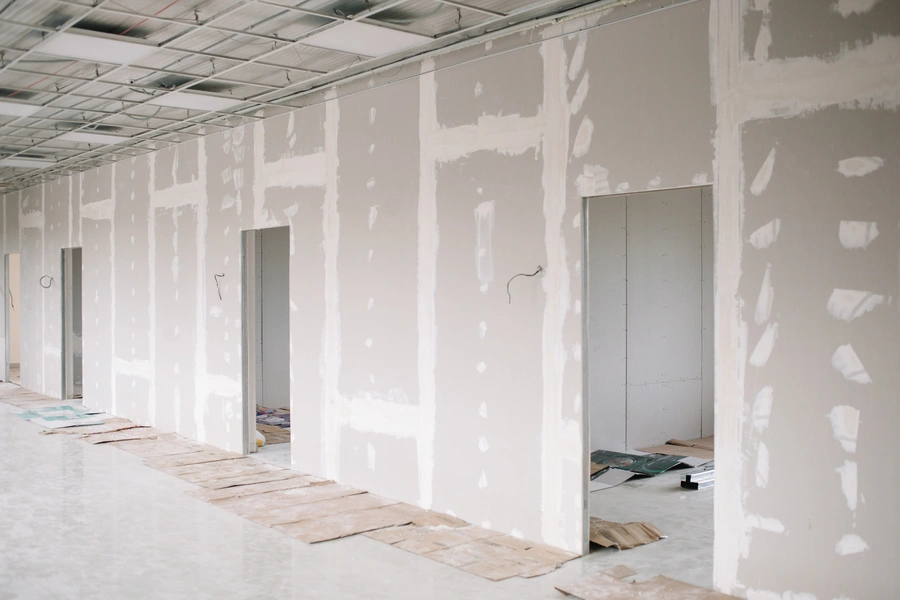
Applying joint compound requires patience and technique. The first coat should cover all taped seams and screw heads. After drying, sand lightly before applying subsequent coats. This process might repeat two or three times until achieving a smooth surface. Sanding after each coat ensures a seamless look.
Sanding and Final Touches
Once all compound layers are applied and dried, it’s time for final sanding. Using fine-grit sandpaper creates a smooth finish ready for painting or texturing. Pay close attention to corners and edges where imperfections often occur. The result should be a smooth surface that blends seamlessly with existing walls.
Cost Considerations
The cost of your project depends on various factors such as material quality, labor rates, and project size. High-quality materials may have higher upfront costs but offer better durability and aesthetics. Comparing quotes from professionals can also help manage expenses effectively.
Your Partner in Quality Wall Construction
If you’re looking for expert help with your next project, consider reaching out to Bayside Property Improvements. Our team provides top-quality service across Treasure Island, FL. Call us at (727) 354-8517 to discuss how we can assist with your construction needs.